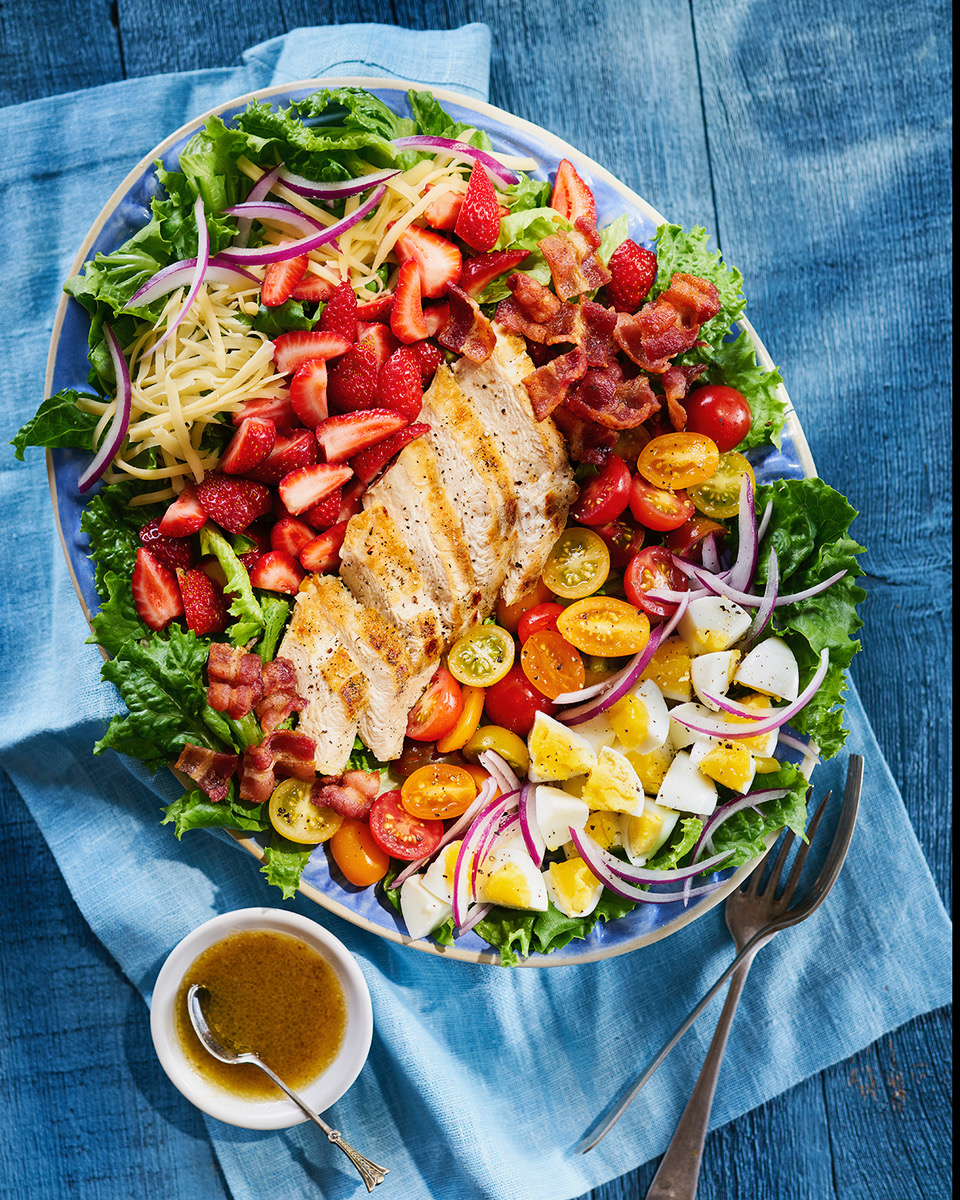
Strawberries on the
Menu

Kids in the Kitchen
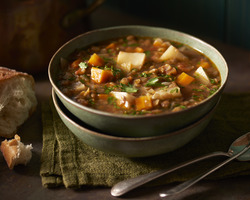
Vegetable Lentil Soup
CTV News at Noon
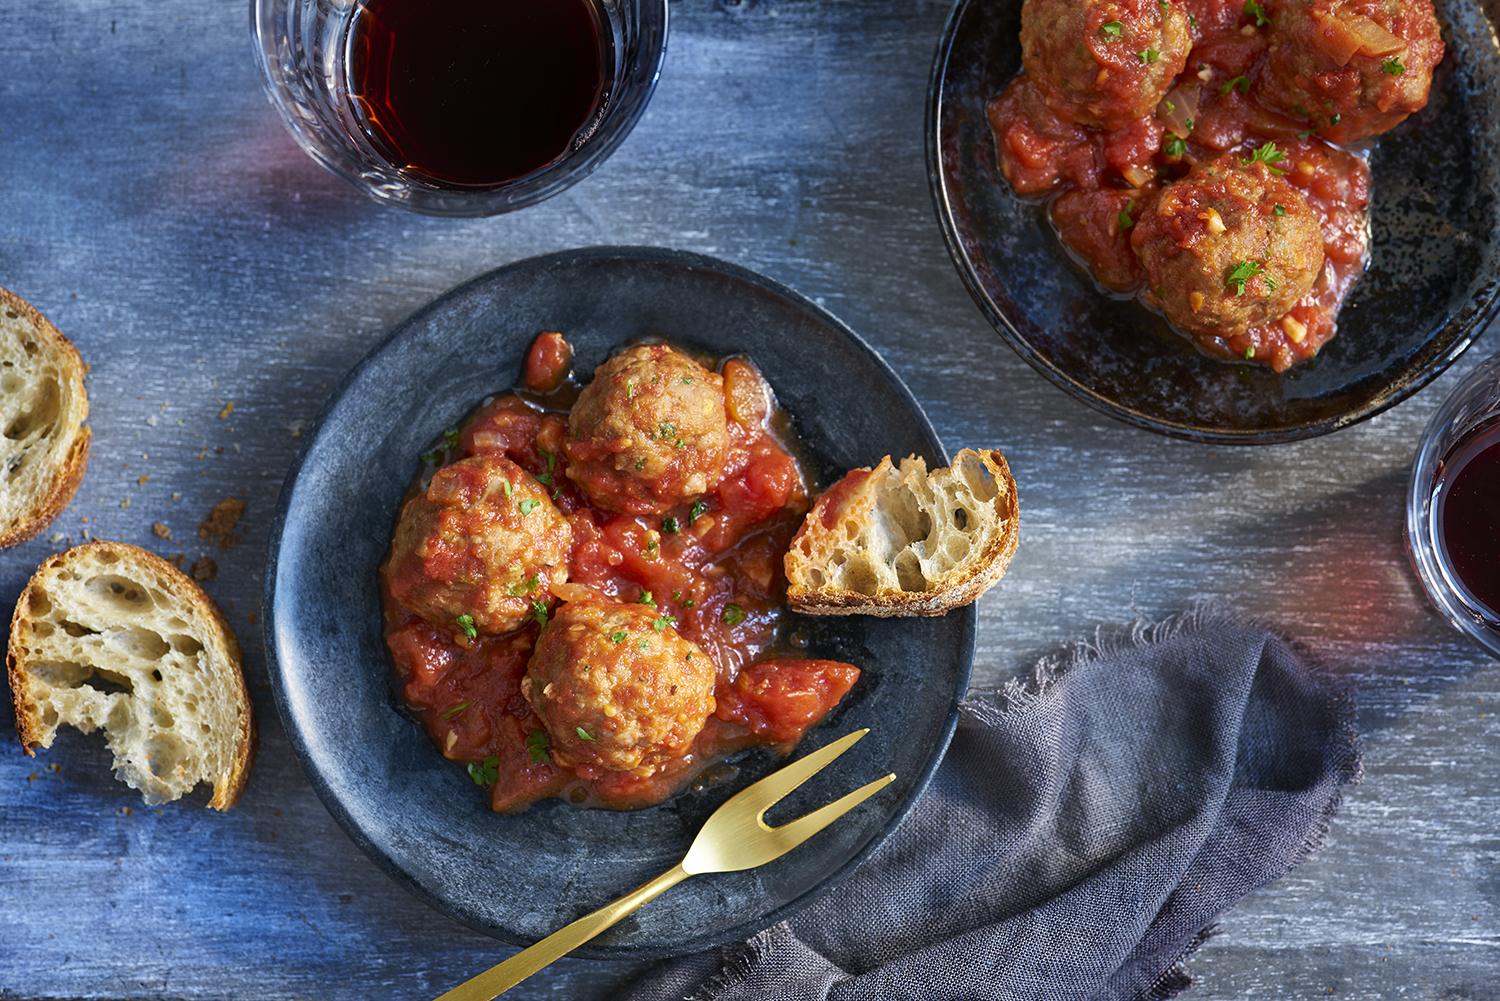
Meatball w Spicy Tomato Sauce
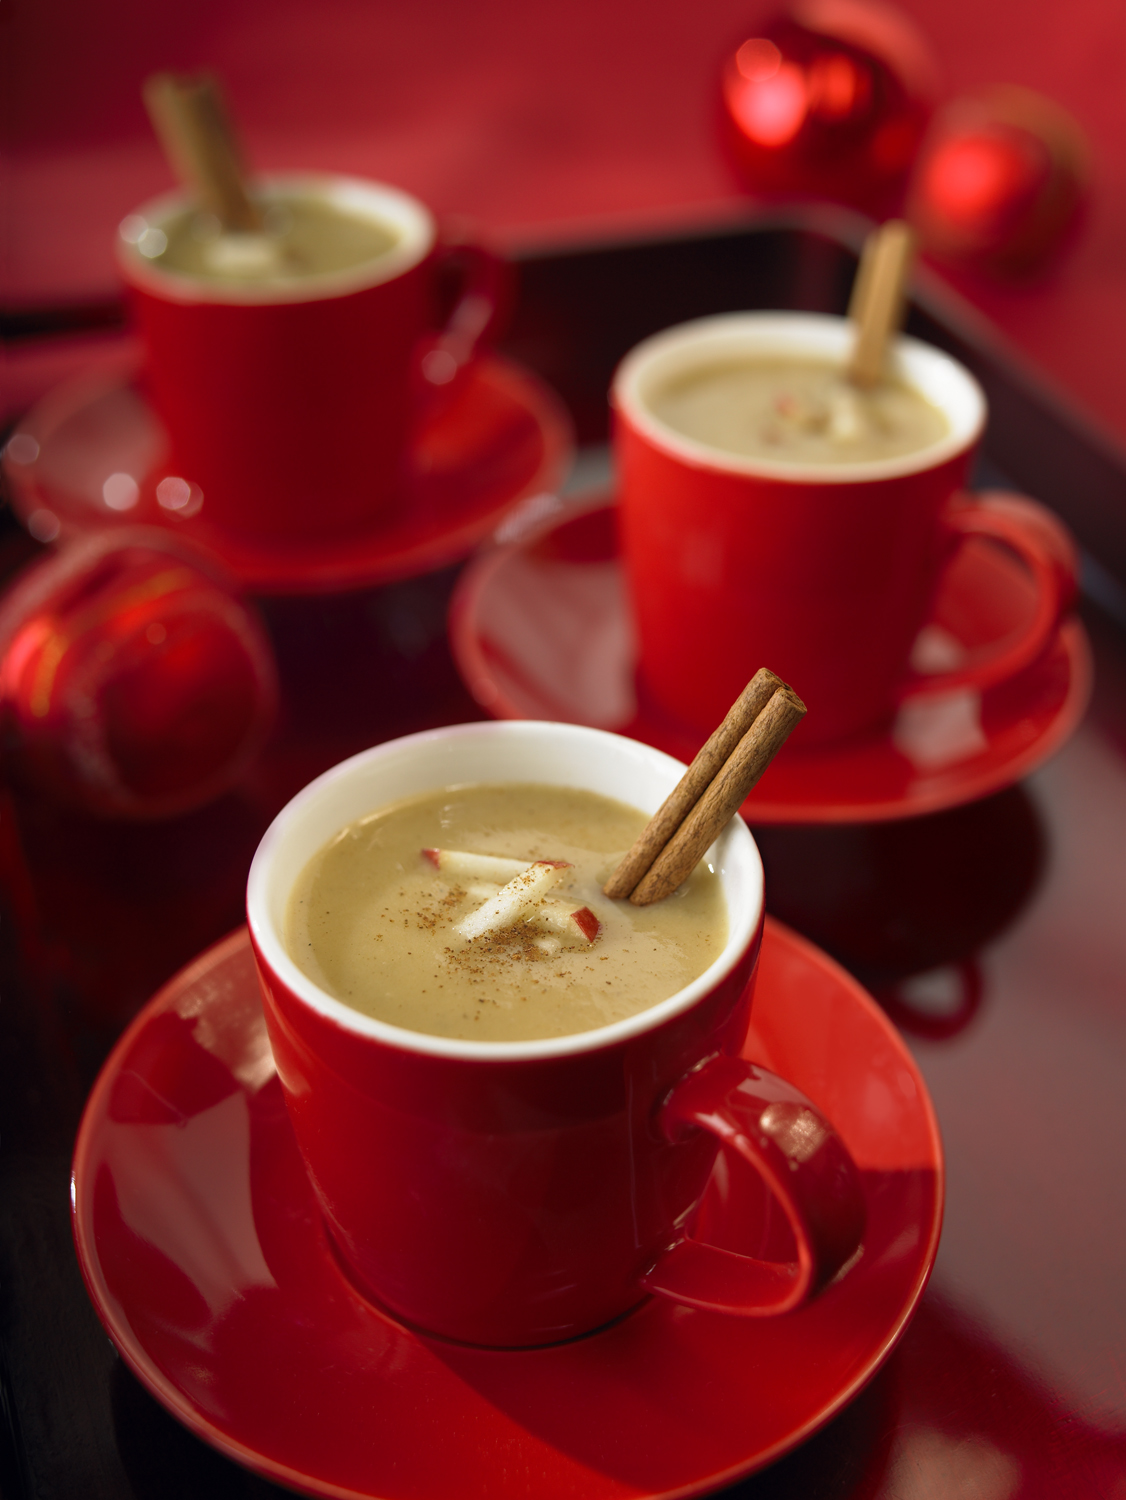
"Mulled" Parsnip and Apple Shooters
Rain &Snow Day Activities
CTV Ottawa Morning Live

Organization 101:
Get The Most Out of 
Your Day!
 CTV Ottawa Morning Live


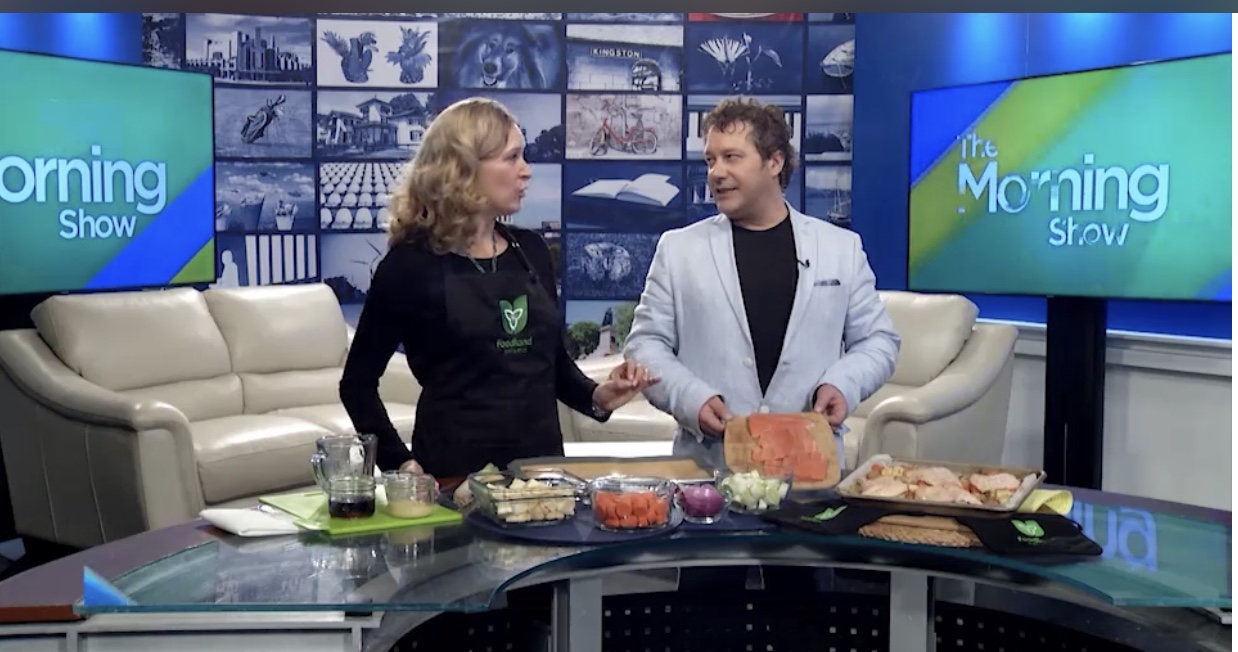
Jerk-Style Trout with
Apple Carrot Relish
Global News Morning 
Apple Picking 
Ample Apple Recipes
CTV Morning Live
Pumpkin Pie with 
Cookie Crumb Crust
Global News Morning
Back to School:
Study Space and More
CTV Morning Live

Outdoor Education Easy
CTV News at Noon
Fresh From the Market
CTV Morning Live
Garden Starters!
CTV Morning Live
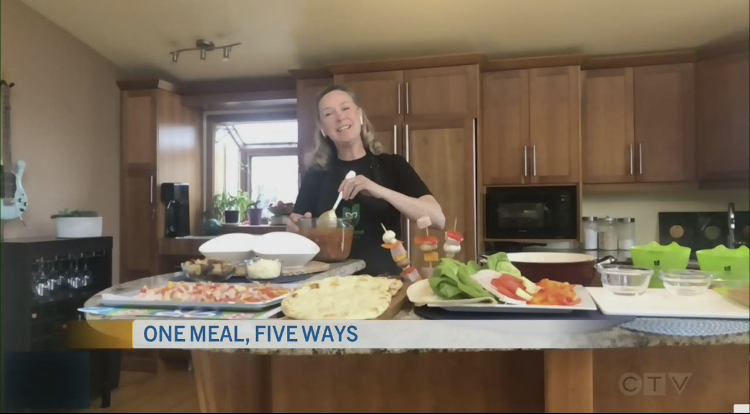
One Meal Five Ways:
Making the Most of It
CTV Morning Live
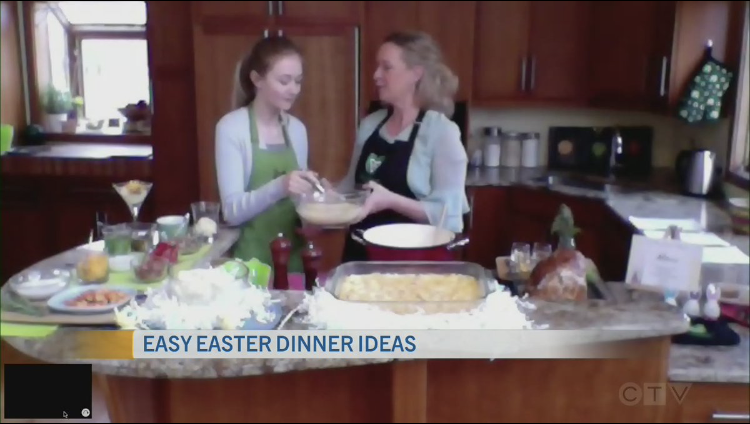
Easter Made Easy
CTV Ottawa Morning Live
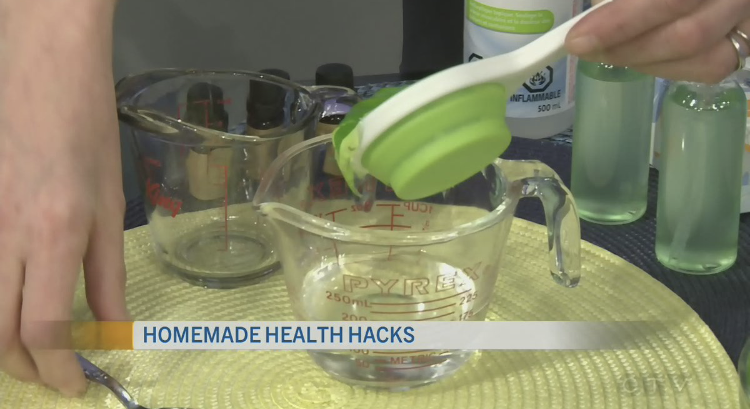
Homeade:
Covid Health Hacks:
Saving you time and money
CTV Ottawa Morning Live
Valentines Inspiration
PIZZA X 2
Chicken Pot Pie 
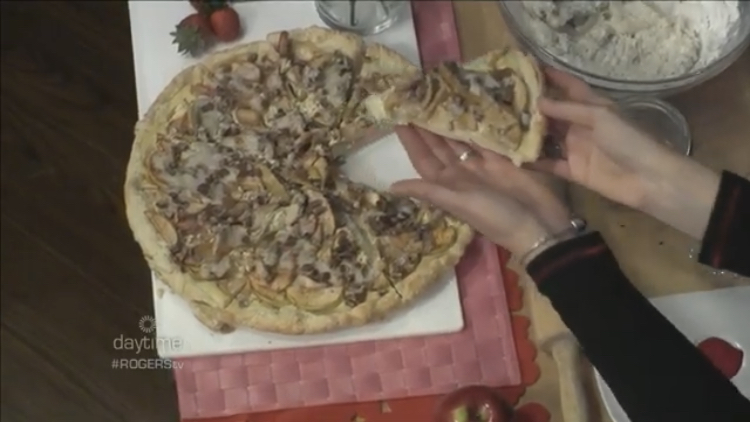
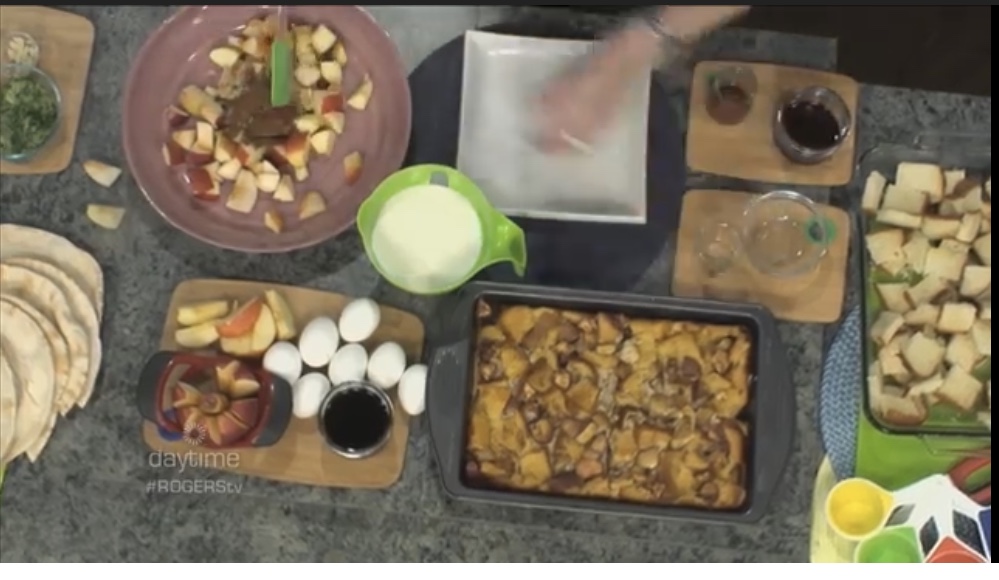
Apple Cheesecake 
Rogers Daytime


Comfort Food -
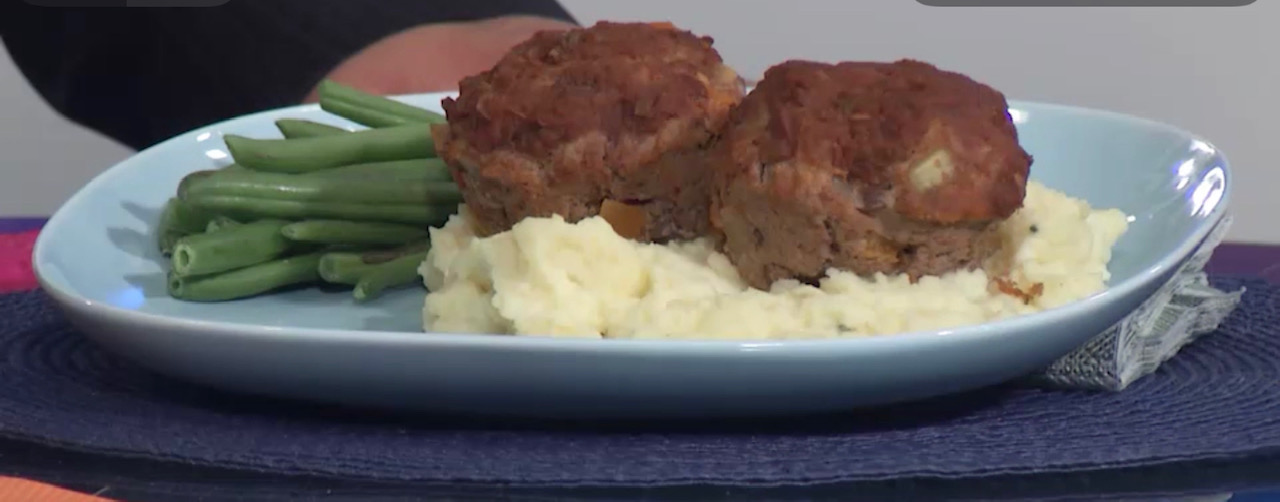
Chipolte Meatload Muffins
Global News Morning

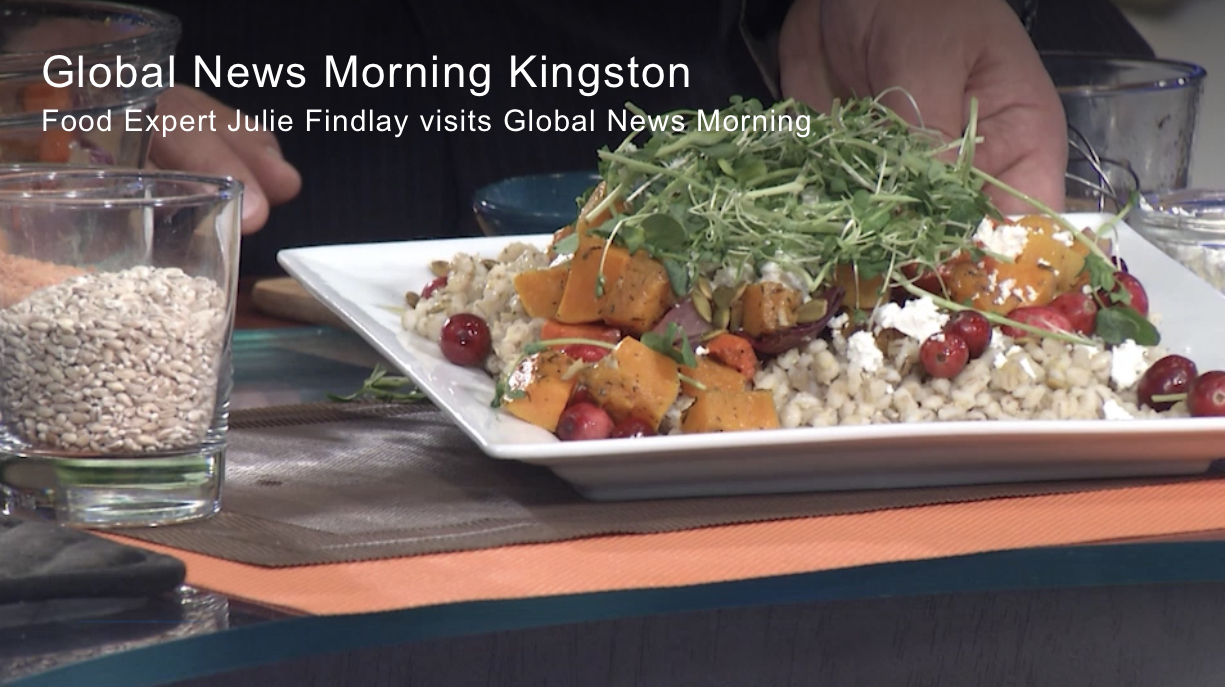
Warm Barley Lentil Salad
with Roasted Vegetables
Global News Morning

Soups On-
Creamy Roasted Parsnip
& Celeriac Soup

Global New Morning


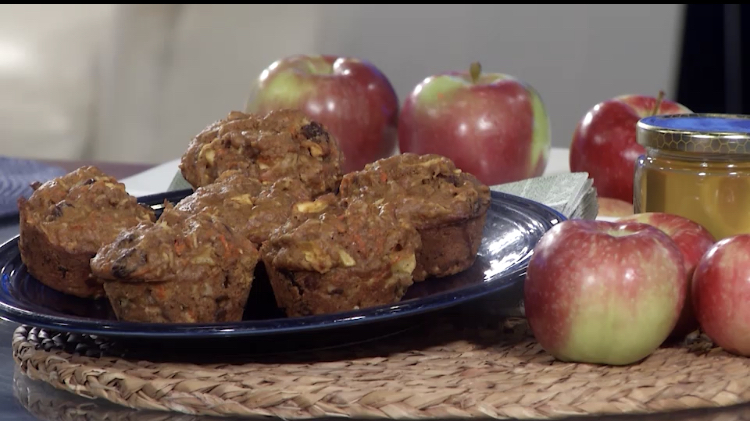
Everyday Muffin

 Global News 


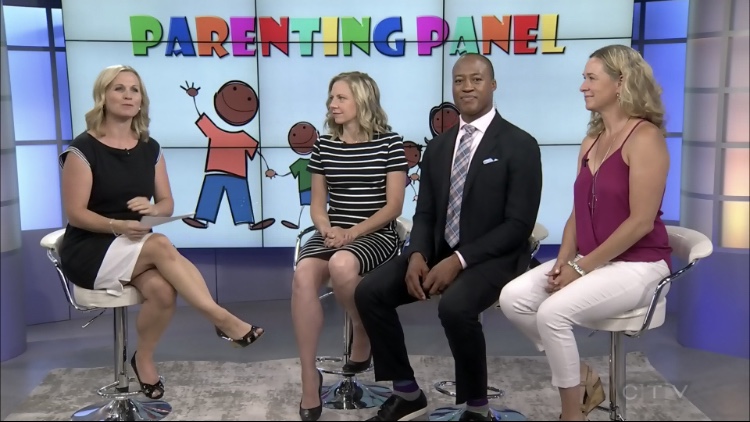
Parenting Panel- Back to School

CTV Morning Live


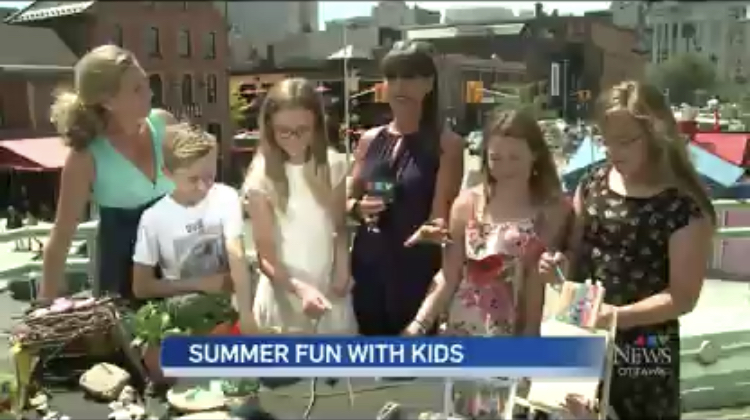
Summer Fun Ideas

CTV News at Noon


 Weekday Recipes:

 The Morning Show on CKWS

RAINBOW TROUT 


Sheet Pan Turkey Dinner


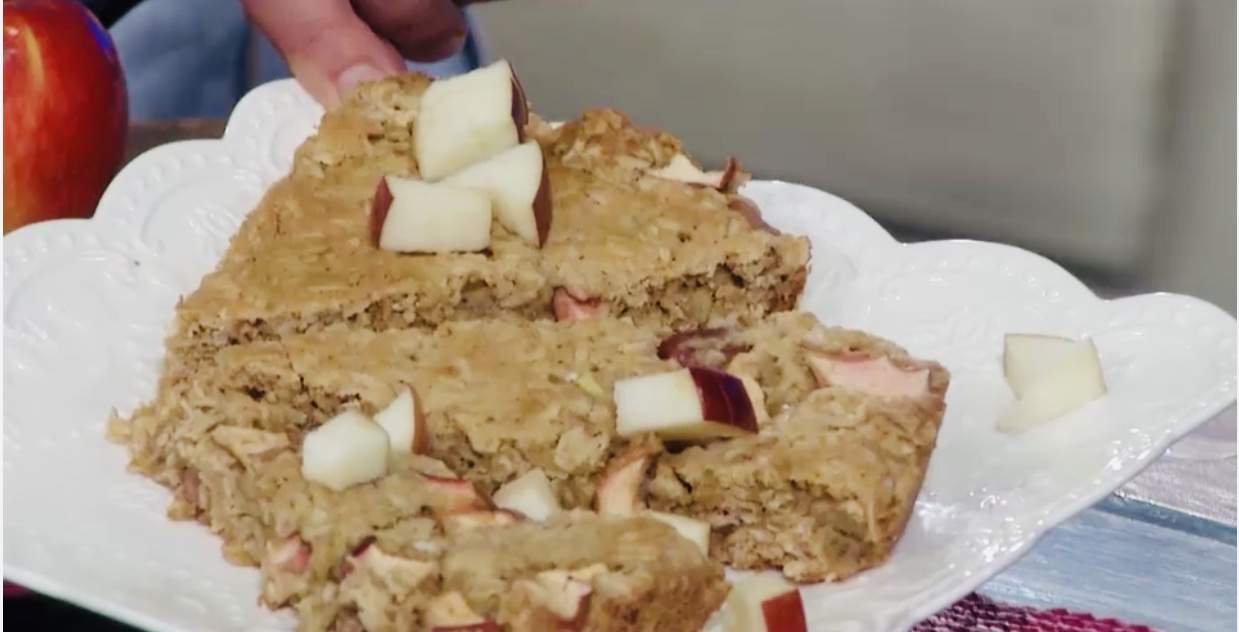
Apple Oat Skillet Cookies


Kids in the Kitchen! All Things Local

Rogers Daytime Ottawa


Kids in the Kitchen! Pizza Many Ways

CTV Morning Live


Keep The Kids Warm and Dry!

CTV Morning Live


EVeryday ART CAMP! CTV NEWS

Not just for March Break


Fun & Easy Valentines Day Ideas!


Parenting Panel -
Some of Your Questions Answered 
CTV Ottawa Morning Live


Hosting A Howling Good Halloween
October 2018 - CTV Ottawa Morning Live


Great Cracking 
A Twist on Some Fall Classics
October 2018- Rogers Daytime Ottawa


Quick Meals - On the Go! 
September 2018 CTV Ottawa Morning Live


 Back to School - Set Up For Sucess
September 2108- Daytime Ottawa


It's Maple Season, Let's Cook - March 13, 2018
CTV 


Kids in the Kitchen - March 8, 2018
Rogers TV

March Break Ideas for Kids - February 21, 2018
CTV


Honey Oat Apple Muffins & Slow Cooker Lasagna - January 2018

Keeping Kids Warm and Dry - January 2018


A Little Goes a Long Way - Decemeber 8, 2017


Leek Apple and Brie Tarts - December 7, 2017


Game Day - November 15, 2017


Recipes for Leftover Halloween Candy -  November 3, 2017

Thanksgiving Desserts - October 8, 2017

Muffin Tin Fritattas - September 13, 2017

First Time Back to School - August 25, 2017

Back to School Must Haves - August 14, 2017

Back to School Snacks - August 14, 2017


Long Weekend Games - August 1, 2017

Packing 101 - August 1, 2017

Camping Treats - July 13, 2017

Cooking with Kids - July 5, 2017

Maple Mustard Turkey Burgers  - June 6, 2017

Butter Tart Maple Apple Squares - March 14, 2017


Januaury 1, 2017 - Cooking Up Ideas for a Healthy 2017


November 23 - Kid's Week on CTV


September 6 - CTV Morning Live

Fresh Ideas from Foodland

September 23 - CTV Morning Live

Grilling with Rob Rainford


September 21 - CTV Morning Live

Fall Home Decorating and Hacks


September 6 - CTV Morning Live

Get Cracking #wakeupyellow


August 15 - City Montreal

Back to School


August 12 - Rogers TV - Daytime


August 10 - Rogers TV - Daytime


August 9 - CTV Morning Live

Twists on Breakfast


 facebook icon facebookicon pinterest icon email icon


Monday
Feb082021

Hearty Vegetable Lentil Soup

Julie cooks up a hearty vegetable lentil soup using local Ontario vegetables.  A generous recipe best for cooking in batches, Julie advises looking for the freshest vegetables available for this one.  Have you ever seen a celery root?  Tune in to learn more about using this unusal looking vegetable in your next recipe.  

Saturday
Jan092021

Winter Outdoor Play

Winter is here and now is the time to take advantage of the outdoor playground.


AROUND TOWN:

Check out the The SJAM  : A groomed, 18-kilometre multi-use trail is open for walkers, cross-country skiers (classic and skate skiing), snowshoers, and winter bikers to experience the beautiful views along the Ottawa River

Ottawa Tourism gives us the Best Ice SKating Experiences in Ottawa

Walking - Hiking- Winter Biking - Snowshoeing and more is just a click away at  Winter in the Capital


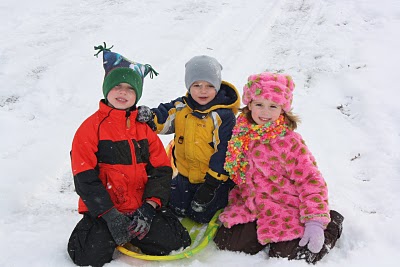
 Toboganning / Sliding

Find a nice hill with a good slope (not too steep).  Be sure to take a test run by yourself first before sending the kids down.  Check for large rocks, tree roots, debris or pipes hidden under the snow. 

Map of Ottawa Toboggan Hills


In Your Own Backyard!:


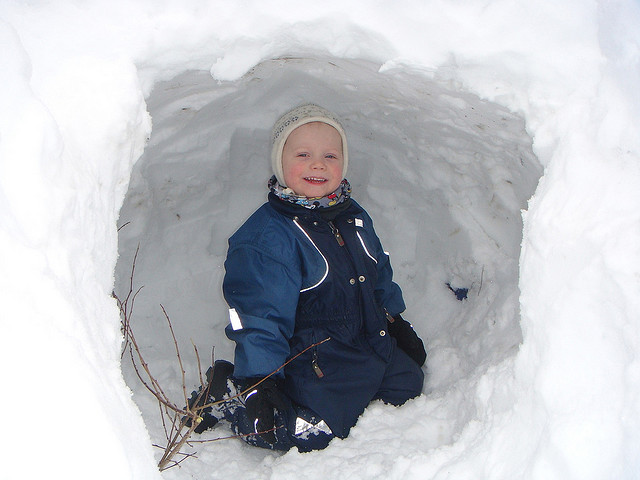
Make a Snow House.  

A roofless snow house is the easiest and safest kind to make.  It is easy to build up walls for your house, castle or igloo.  Don’t forget to build furniture.  If you are ambitious, you can build more than one house and connect them by shoveling paths and sidewalks.  

Toboggan Tug-of-War

Play a game of toboggan tug-of war.  Have everyone divide into two sides and grab their sleds.   Take hold of either end of a long rope and pull. Try to pull your opponents over to your side without sliding toward them.

Snow Shapes

Wet, dense snow is like sand, in that it can be formed into shapes. Bring out your sandbox toys, buckets, Tupperware containers and other molds and make a snow castle or anything else your imagination comes up with.

Snow Bodies

Lie on the ground and form a snowman shape around you. Then try a mermaid’s tail, an angel with wings, a butterfly and other characters. Make sure your kids are bundled up well for this one!

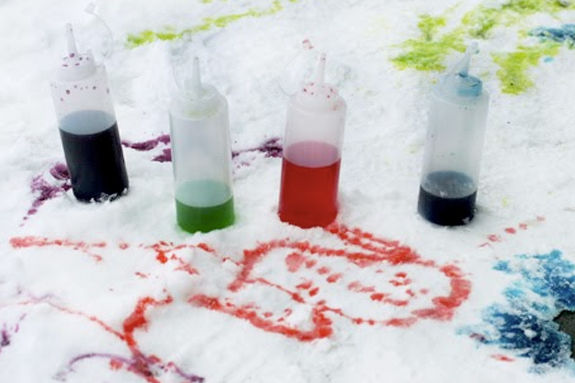
Snow Paint

Make some homemade snow paint using water and food coloring. Fill some spray bottles and let your children express their artistic sides in the snow. With a sharp stream on the spray bottle or in a squeeze bottle, kids can write their names in the snow or make a large message in the yard.


Tip: Your snow day will be much more enjoyable if everyone stays warm and dry.  Dress in loose layered clothing under a waterproof coat.  Don’t forget good mittens or gloves, hats, boots and scarves. 

Sunday
Nov222020

Fun and Festive Christmas Ornaments to make with the Kids

Handmade Keepsake Ornaments

How our tree has grown since the kids have come into our lives.  Each year, as we put up our tree, we take time to look at the ornaments that we have collected over the years.  There is the one we got for a wedding gift, our first home, baby’s first Christmas times two – one pink and one blue.  We have received some ornaments as gifts over the years as well.  There are ballerinas and Legos, drum sticks and running shoes. Our tree tells a story of us, our family. 

Every time we visit a new or interesting place, we try to pick up a souvenir ornament in the gift shop. It is a great way to remember some of our adventures.  Some years, the kids have made beautiful keepsake ornaments at school.  I also like to make a few at home.  The salt dough handprints are my absolute favourite.  I try to do them every couple of years as the kids grow. 

We wanted to share a few of our favourite DIY Keepsake Ornament and holiday craft ideas.

Please share your favourites in the comments below.

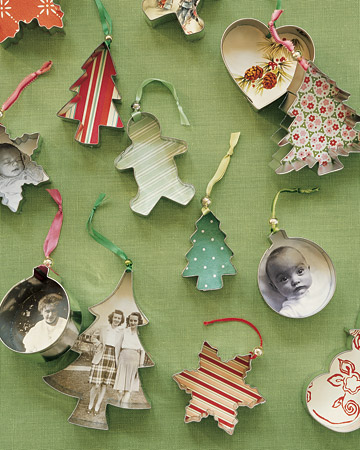
Cookie Cutter Ornaments


You will need:  
  • Aluminum cookie cutters
  • Patterned paper
  • Color-photocopy pictures
  • Card stock
  • Pencil
  • Scissors
  • White craft glue
  • Needle
  • Ribbon
  • Beads
STEP 1
Choose patterned papers or color-photocopy pictures onto card stock. Trace cutter on top; cut out. Dab white craft glue along cutter's edge. Press paper in place; let dry.
STEP 2
Thread narrow ribbon through needle; poke between paper and cutter, and wrap ribbon around top of cutter. Slip a bead over ribbon's ends; knot.

Button Ornaments
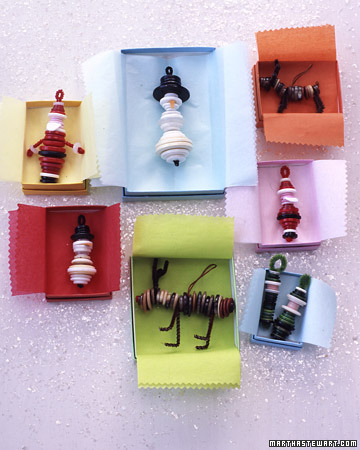
  • Pipe cleaners
  • Buttons
  • Felt
  • Craft glue
  • Thread
STEP 1
Bend a pipe cleaner in half and twist once at the top for a loop.
STEP 2
Slide buttons over pipe cleaner ends, slipping one end into each hole (if the button has four holes, use two diagonal ones). Use larger buttons for bellies and hat brims.
STEP 3
When finished, twist ends of pipe cleaner to secure, and trim.
STEP 4
For reindeer legs and antlers and for Santa's arms, bend 2-inch pieces of pipe cleaner in half, slip on between buttons, and twist.
STEP 5
Glue on felt for Santa's beard and the snowman's nose.
STEP 6
To hang the reindeer, loop a thread around its middle and tie.

Pipe Cleaner Snowflakes

These directions yield a snowflake that is 6 inches in diameter, with three arms attached to each spoke. To create larger or smaller snowflakes, simply adjust the proportions of the pipe-cleaner pieces accordingly. You can also use more or fewer arms on each spoke.
  • Wire cutter or pair of old scissors
  • Three 6-inch pieces of pipe cleaner, plus six 2 1/2-inch pieces, six 2-inch 
  • Needlenose pliers
STEP 1
Using a wire cutter or old scissors, cut three 6-inch pieces of pipe cleaner. Then cut six 2 1/2-inch pieces, six 2-inch pieces, and six 1 1/2-inch pieces. 
STEP 2
Twist 6-inch pieces together at their midpoints to make a six-spoked asterisk. Tighten twist by clamping down with needlenose pliers. 
STEP 3
Center one 2 1/2-inch piece at the midpoint of a spoke, and twist onto spoke. Tighten twist with needlenose pliers. Repeat on remaining 5 spokes. 
STEP 4
About 1/2 inch from an arm attached in step 3 (toward spoke's tip), center one 2-inch piece, and twist onto spoke. Tighten twist with needlenose pliers. Repeat on remaining 5 spokes. 
STEP 5
About 1/2 inch from an arm attached in step 4 (toward spoke's tip), center one 1 1/2-inch piece, and twist onto spoke. Tighten twist with needlenose pliers. Repeat on remaining 5 spokes. Trim arms if needed.
STEP 6
To hang, glue a loop of cord to the back of a spoke.


Festive Cookie Totes

Pringles Can Cookie Totes
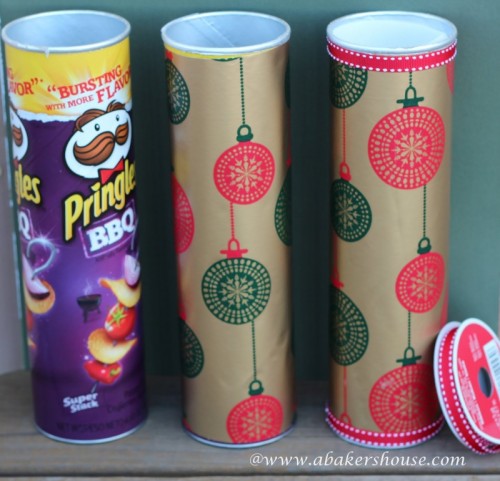
You will need:

  • Pringles Can
  • Wrapping Paper
  • Wax Paper
  • Parchment of Freezer Paper
  • Ribbon
  • Blue
  • Muffin Liners


Cut the wrapping paper to fit around the can and glue it in place.   Cut the ribbon and wrap it around the top and bottom of the tube.  You may want to use a little glue here too.   Cut the wax paper a similar size and roll it so that it fits inside of the can. Put your cookies into the muffin cups and then slide them into the tube.


Foil Box Cookie Totes
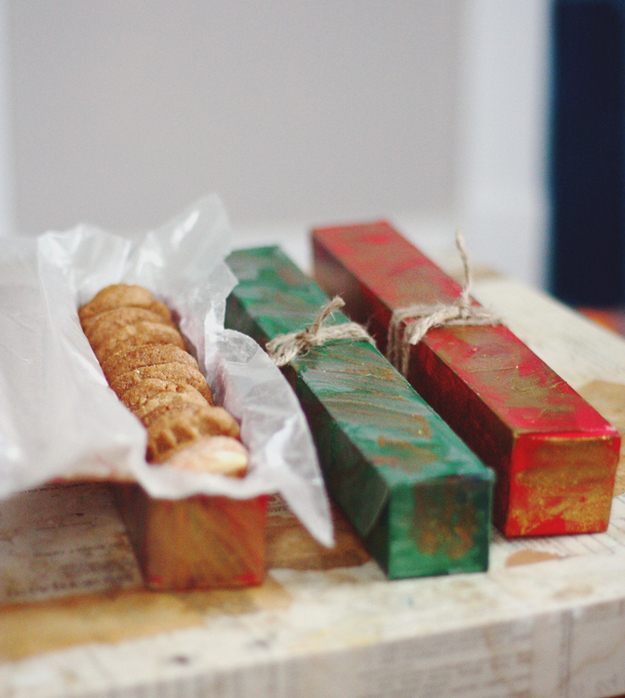
  • Empty Aluminum Foil, Wax Paper, Plastic or Parchment Boxes
  • Wrapping Paper
  • Tissue Paper
  • Buttons
  • Hole Punch
  • Ribbon or Twine

Start by cutting off the sharp edges from the boxes. Wrap all the way around with decorative paper and line the inside with tissue. Fill cookies. Glue button to the top lid and Punch a hole in the bottom lid.  Tie to button to close box.  


This year wer are making time capsule ornaments for 2020!
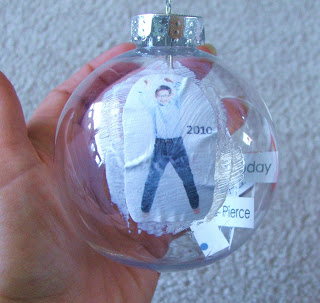
Time Capsule Ornament

You will need:

A clear plastic ornament (available at craft stores)

You child’s photo of the year

Paper

Small piece of ribbon

Modge Podge

Sponge Brush

I started by helping the kids to write out their memories and milestones from this year – what grade they are in, their teacher’s name, their best friend, favourite book and tv show, trips we took and what they did for their birthday are all  good things to record. You could also print these out on the computer.

I gently took the top off the ornament by squeezing the metal prongs. Then I cut the lines of printed memories into strips and slipped them into the ornament and replaced the top.

MITK Tip:  Buy more than one ornament.  You never know!

I cut the phto into a circle and painted modge podge on the back to stick it to the ornament.  Then I brushed another layer of modge podge on the edges of the picture and smoothed it out with my fingers.  Once the edges dried, I brushed another coat of modge over the entire photo. 

I topped it off with a pretty ribbon hanger.


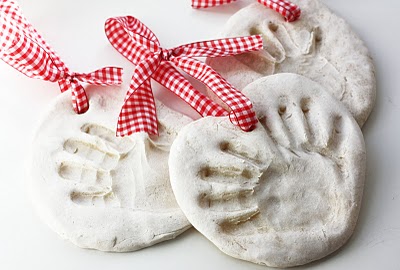
Salt Doug Hand Ornament

This is what you need:
4 cups of flour
1 cup salt

Food coloring
Large Mixing Bowl
Water to moisten
Cookie sheet
A little oil 
Small rolling pin 
A drinking straw
Ribbon
A plate for a guide
Paint to decorate

This recipe will make three ornaments.

In your mixing bowl ~ gradually blend in your flour & salt with water to make the dough. 

MITK tip *Remember to add gradually, because you can always add more water but it is hard to take it away.

Divide dough mixture into three parts, lightly oil the cookie sheet, form and roll out dough. Be sure to make the dough thick enough to form the handprint.

Use the drinking straw to put a hole in the top for the ribbon. 

The best part is letting the kids press their hands into the dough to make their prints.

Place in a 150* degree oven for an hour. Or you can air dry overnight  for 24 hours.

Once dry, paint or decorate as you like. 
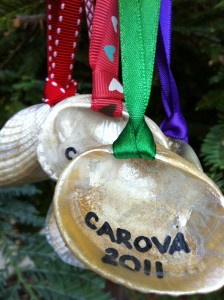
Shell Keepsake Ornaments

This is a simple way to keep memories of your family vacations.

While away on vacation last year, we collected shells on the beach.  I tried to find ones with holes in the top to make it easy to hang them on the tree.  When we returned from our trip, I tucked the shells into the Christmas box. 

What you need:

Shells

Ribbon

Sharpie

Sparkly paints

All you need to do to make this holiday ornament is to write the name of the place where you collected the shells and the year.   With writing on the shell, I gave the kids some sparkly paint and had them decorate as they liked.  Last, I tied a pretty ribbon to the top to ready them for the tree.

I hope that you and your family will enjoy creating these ornaments for your tree and that you will continue to add stories as the years go buy.


Monday
Nov092020

For You and Your Child - What Remembrance Day Means

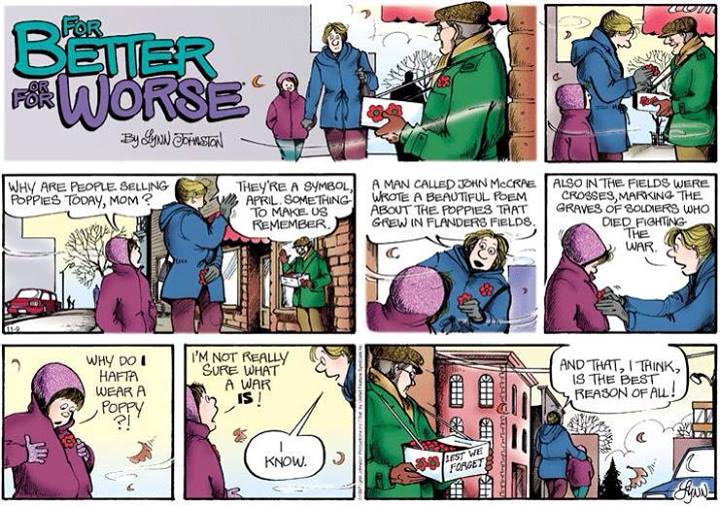
Lynn Johnston’s comic strip pretty much sums it up for me.  I am so grateful to live in a time when my children don’t really know what war is.  At Remembrance Day, I think about the peaceful society that we live in here in Canada and I am thankful to the generations of Canadians who have served our country to make it that way.  

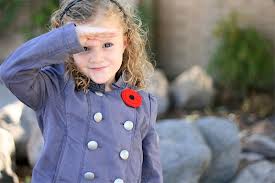
It is difficult to talk to our kids about war and death, yet I feel I really want them to understand why we enjoy our peace and freedom.  I want them to wear a poppy with pride and understand what it means. 


Childrens’ books on Remembrance Day

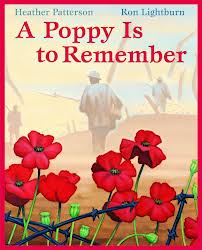
There are  a whole bunch of books on Remembrance Day.   I like Proud as a Peacock, Brave as a Lion by Jane Barclay or A Poppy Is to Remember by Heather Patterson.  Books like these and the pictures and illustrations often get kids asking questions and starting conversations.   

Make it Musical

Remembrance Day music or wartime music can get kids thinking about war and the soldiers who served.  Play the "Last Post" bugle call or "Kiss me Goodnight, Sergeant Major" and "Boogie Woogie Bugle Boy Of Company B”.  If you can find an accompanying video on Youtube even better.  Kids will get a sense of the times and appreciate the visuals. 

Relate to a Real Person

Think of someone you know who has serve in the armed forces or who is currently serving.  Show your kids pictures of these people and explain the sacrifices they make for our country.  Help them to understand that serving our country is a full time job and that sometimes these people need to be away from their families for long periods of time.  Sharing these experiences with kids can help them relate to the true sacrifices others have made for our country. 

Make a Craft

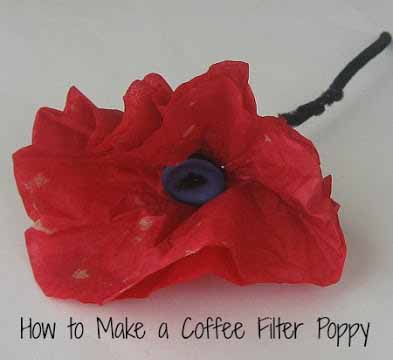
Make a craft and spend some time talking about what poppies and remembrance mean.  I like this poppy made from a coffee filter and bingo dabber.  A simple idea, but a lot of fun. Full instructions here.  


 Observe a Ceremony

One of the best ways to show children the importance of remembrance day is to take them to a ceremony.  Have them dress up and put on a poppy.  The image of the soldiers themselves, the somber music and the sense of occasion will make an impact.  There are a few There are many ways to recognize Remembrance Day around the city. Ottawa Tourism has a complete list on their site at www.ottawatourism.ca 


Whichever way your choose to observe Remembrance Day with your kids, I hope you make it meaningful for you and for them.  Keep in mind that this is an annual observance and that you can start your own traditions as years go by

Friday
Oct232020

HALLOWEEN 2020 - Have a Wicked Good Time

2020 Halloween looks different, but that does not mean you cannot bring the 'Spirit' into your own home and set yourself up for a 'Howling Good Time'

Ideas for decorations, crafts, games, recipes and more 
 

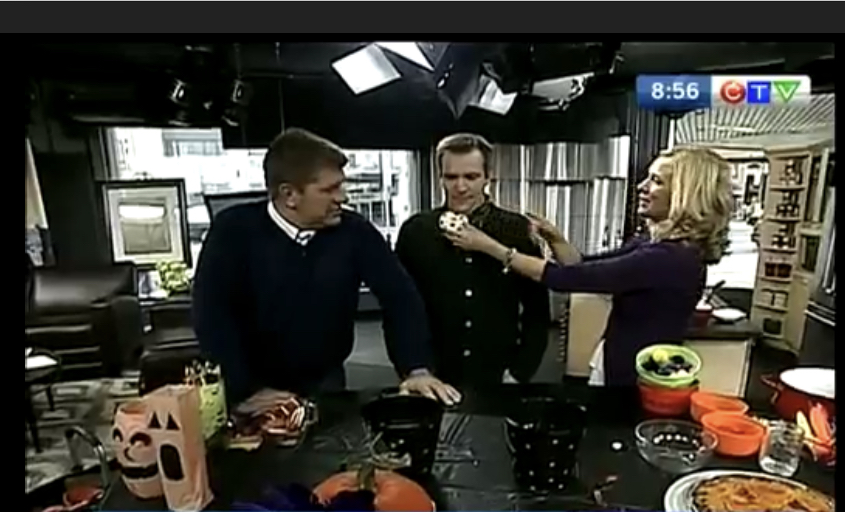
We have some hauntingly good ideas that we shared with CTV Morning Live


  SET UP A FOR HOWLING GOOD TIME

 
 Games! Games! Games!

Get your kids involved in the decorating with a few of these easy tips and crafts 

  1. Use a  big roll of caution tape  to criss- cross across doors that are off limits. 
  2. Make signs that warn  Beware or Haunted
  3. Cut monster footprints from cardboard and have them lead from party room to party room.  You can even make a path to the bathroom.
  4. Make ghoulish centerpieces and ornaments from salt dough.  SALT DOUGH: Easy to roll out dough and cut shapes with cookie cutters. Salt dough crafts will air dry in a day or two. If you need immediate results, bake them in the oven at 200    degrees Fahrenheit until they harden. Easy recipe : 2 cups all purpose flour/ 2 cups of salt/   1 cup of water. Mix with your hands until moist and smooth.
  5. Go through your recycling bin and pull out different shaped bottles.  Fill them with water and food colouring to create apothecaries of poison mixtures.
  6. Wrap recycled containers with Halloween themed paper or use felt to create some monster faces. Use them as a treat buckets for your popcorn and pretzel-type snacks. 
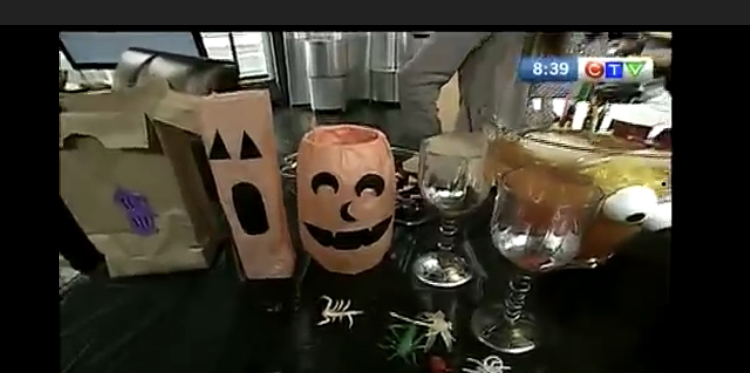
  7. Make haunting luminaries.  Wrap clear glasses or vases in orange tissue paper.  Cut out shapes or find other décor items to make a jack-o-lantern faces.  These can be used indoors or out.  Another great idea for luminaries is to drarw or colour shapes and faces on brown  paper bags .  Older kids can cut designs into the bags. Fill the bags a third full with sand. Add a tea light and line your walkway or porch. 
  8. Use leaves.  Take old clothes and stuff them with leaves. Scatter them on the lawn with heads or leave them headless.
  9. Eyes are on you. Use plastic foam balls.  Cut them in half and paint black pupils.
  10. Make a craft box available to your little party goers. You never know what spooky creativity will arise. Your box could include: plastic spiders, stickers, stamps, googly eyes, pom poms, ribbon, pipe cleaners, cookie cutters to trace, different coloured felt and construction paper, scissors, markers, glitter glue or feathers.  

Play Goulish Games 

Find the eyeballs in the brains
Add marbles to cooked spaghetti to create this ghoulish game.  Whoever collects the most eyeballs in two minutes wins. Hint: Add one tablespoon of cooking oil per box to keep noodles from sticking.
Eyeball Bounce

Supplies Needed:
  • Bouncy Balls. We like to use ping pong balls - You can draw on the veiny eyes. 
  • Bukets or bowls 
Each player is given a number of balls to bounce in the bucket. The most in, wins!

Scavenger hunt 

Have a scavenger hunt to find treats or for ingredients for a witches brew . Some creative ingredients I came across are:
  • Eye of a newt – dried bean
  • Bat hair – dryer lint
  • Snake teeth – grains of white rice
  • Mouse kidney –kidney bean
  • Owl feather- colourful craft feather
  • Dusty corpse – baking soda in a small plastic bag 


  •    

Witches Brew 

To make a witches brew add 2 cups of vinegar to a large pot.  Add all of the children’s ingredients from the scavenger hunt, especially the dusty corpse. Have extra dusty corpse to add to the cauldron. It will bubble and froth before their eyes.


Grab the Ghost 

Supplies 

Paper towels 

Small balls

Yarn 

Markers 

Pennies

Large paper cirlce 

Funnel 

Die 


Instructions 

  • Before the party, make ghosts by draping a piece of paper towel around a small ball, such as a Superball (or in a pinch, a wadded-up paper towel). Cinch the towel around the ball and secure with one end of a 2-foot length of yarn.
  • Have guests draw a face on their ghosts with markers. 
  • At the start of the game, each player is given ten pennies. Choose one person to be the goblin. The other players lay their ghosts on the large paper circle and hold on to the yarn leash. The goblin holds the funnel, upside down, at least 2 feet above the circle.
  • The goblin chooses two numbers on a die, announces them to the group, then rolls. If either of the chosen numbers appears, the players try to pull their ghosts out of the circle before the goblin can slam the funnel down over them. If a player is caught, he must give the goblin a penny. If the chosen numbers do not appear, but the players panic and yank their ghosts out of the circle anyway, it's another penny to the goblin. The goblin, for his part, is allowed to fake a funnel slam, but if he touches any ghost, he must shell out a penny to each player. After three rolls of the die, the next player takes over as goblin. Play is over when one player runs out of pennies. The player with the most coins wins.


Ghost Story Starters 

Grab a flashlight and put a sheet over top of you and start your Ghost Story. Here are a few propmpt starters if you need one:

1.     One dark, stormy Halloween night, I…
2.     I didn’t believe in ghosts until…
3.     The old, abandoned house was covered with…
4.     I jumped up from bed when I heard a loud…
5.     I didn’t think the house was actually haunted until…
6.     When the black cat crossed my path I…
7.     I could no longer ignore the strange sound coming from under my bed, so I…
8.     The monster that lives in my closet is very…
9.     When the jack-o-lantern started talking to me I…

10. The spider dropped done onto my shoulder and then... 


Poor Joe 

Supplies:
Cold stuffed rubber glove, (latex glove filled with Jello) 
10 small pieces of carrot
Wig, (dolls wig works well)
cold cooked spaghetti 
Dried apricot
2 peeled green grapes
Piece of liver
Flashlight
Preparation: 
Guests sit in a circle on floor; lights out except for flashlight narrator reads by. Have each item to be passed in separate bowl. Guests will pick up the item, put it back in bowl, pass it to the next person. While guests pass an item, narrator holds the flashlight underneath his chin to give his face a scary look. 
Action Narrator reads from script

Here are some other hauntingly fun games         

  • Monster freeze dance
  • Guess how many worms or candies are in the jar. 
  • Pumpkin pass along (use little gourds)
  • Pin the witch on the broom  (pin up broom,  cut out witch, tape or thumb tacks)
  • Cotton ball relay- (cotton balls - use orange or black, large spoons and two plastic pumpkins)
  • Doughnuts on a string or bobbing for apples  (apples or doughnuts with sprinkles tied to the end of a string and hung from the ceiling)  
  • The Dead Man’s Brains  (instructions and supplies here) 
  • ‘Boo am I’  (spooky characters for charades writing on small slips of paper,  blown up balloons to put the pieces of paper in)
  • How many words can you get out of   F R A N K E N S T E I N  or H A L L O W E E N 
  • Musical Pumpkins
candy corns
Make some Treat Bags & Ghost your friends
  • Use a recyclable paper bag or goodie bag
  • Let kids come up with their own Halloween pattern or picture of a pumpkin, bats, globlins, monsters or ghosts. You could also use cookies cutters to trace the shapes.  Use paint to colour in the shapes. Older kids may want to paint free hand.
  • Fill your Goodie Bags with treats
  • Write Two letters stating that "you've been ghosted (or boo'd)" with simple how-to instructions to carry on the tradition.
  • After you have assembled your treat bags,and letters, you should deliver them after dark to your target your friends and family  by dropping one on each porch, ringing the doorbell, and running. You should remain anonymous, so don't get caught. If you're a child, it's important to be safe and take an adult with you. 


Serve up Some Spooky Stuff

Serve up some fun using  different sized clear containers.  Fill them freaky fun candies such as gummy worms and chocolate eyeballs. You can also add googly eyes to some of the containers so they keep on ‘eye’ on the kids.  Pumpkins make great serving bowls too (especially with a wiggin’ worm salad). 

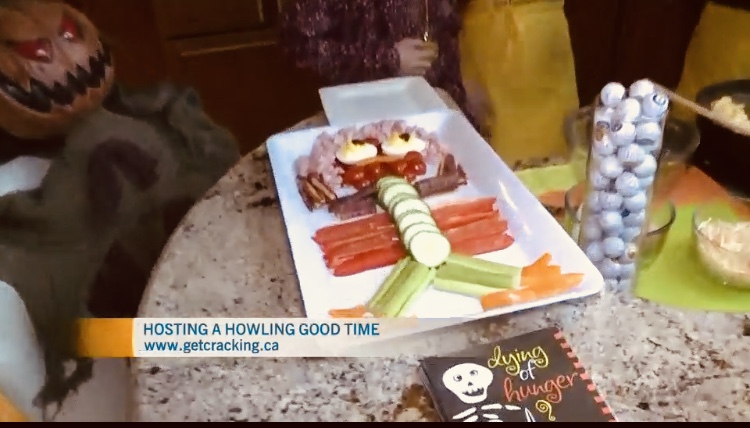
No-bones-about-it vegetable skeleton

Veggies come in so many shapes and sizes, they make perfect building blocks.  

Jack-'o-lantern dip

Carve out a small pumpkin (or a few) to use as dip containers (healthier dip choices include salsa, hummus, and yogurt-based recipes). Paint a face on the pumpkin instead of cutting holes, or cut only partway through. Or if you're feeling extra-spooky, carve a large mouth and make the dip spill out through it for a "puking pumpkin" effect. 

Black-and-orange dip

Buy or prepare black-bean dip, and serve with sweet potato chips and orange bell pepper strips.

Get seedy

Don't forget to save your seeds when you carve pumpkins. Roast them in a hot oven with a little salt and olive oil.

Braaaaiiiins! 

Score major cool points with party guests by serving a watermelon carved to look like a brain.
Choose a small, seedless melon and peel off the green skin. Score the white pith with a knife
to resemble the brain's squiggly folds. Then carve to expose the watermelon's red flesh.

Boo-nanas

Dip peeled bananas in orange juice, then roll in shredded coconut to make white ghosts. Add
small raisins or chocolate chips for eyes, then insert wooden craft stick for a handle (so the
ghosts can flit about hauntingly). Serve as-is or frozen.

Witches' teeth

Core and quarter an apple. Remove wedge from skin side of each quarter to form a mouth.
Insert variously shaped and sized slivered almonds for teeth.

Orange-'o-lantern

Use a toothpick to carve features into the skin of a whole orange. Insert a piece of pretzel for
a stem. Or remove the fruit's pulp and use to serve yogurt, low-fat pudding, apricot
applesauce, etc.

Black Bean Cat Crudite 

Looking for a Halloween snack that’s both healthy and festive?  This skeletal array fit’s the bill.  No bones about it.  Just assorted fresh vegetables and a bowl of dip arranged in the shape of a spooky cat. 
Assorted veggies of your choice  (celery, cherry tomatoes, broccoli)  
 

Mummies 

Disguises  aren’t just of Halloween. Surprise your family with these dressed-up, spooky-looking snacks any time of year.  Kids can help my spooning the pizza sauce on the English muffin and making the mummy face with the cheese and vegetables.  
 

Spooky Punch 

For the punch, you need a glass punch bowl with a hollowed-out raised base. Take the base of the punch bowl and put underneath either a small flashing electric light or just a regular one. They are small, about tea-light size, and you get them at dollar stores. Putting the punch bowl on top with liquid is a great effect, especially when you lower the lights. Kids and adults will love it! Get the recipe. 
Some other great recipes: 
With thanks to Taste of Home for these wonderful recipies and ideas.  

Happy Haunting