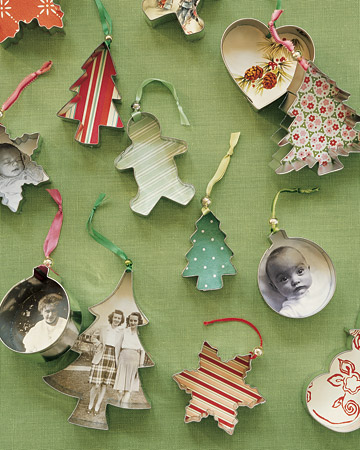
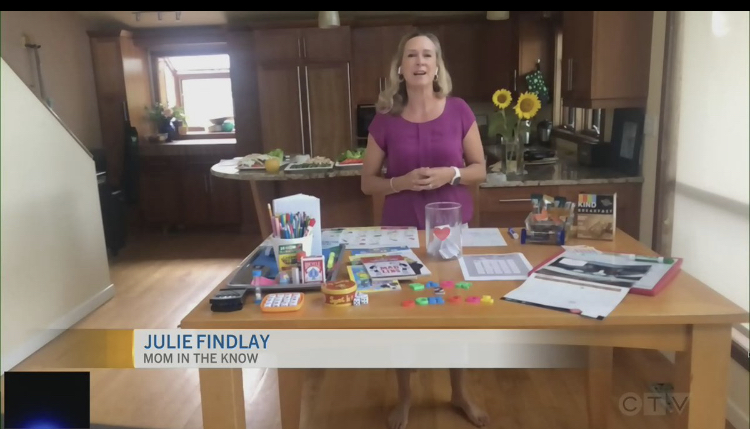
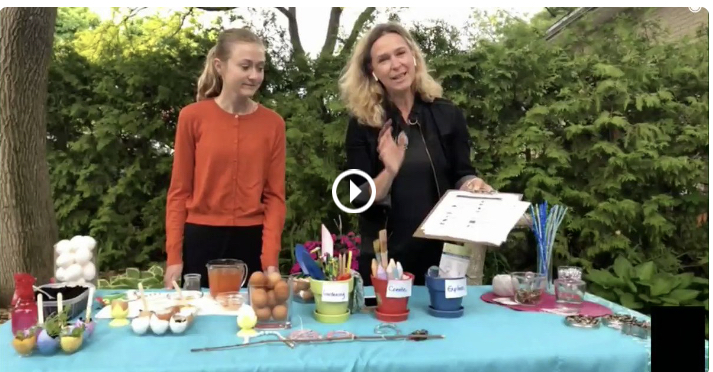
Handmade Keepsake Ornaments
How our tree has grown since the kids have come into our lives. Each year, as we put up our tree, we take time to look at the ornaments that we have collected over the years. There is the one we got for a wedding gift, our first home, baby’s first Christmas times two – one pink and one blue. We have received some ornaments as gifts over the years as well. There are ballerinas and Legos, drum sticks and running shoes. Our tree tells a story of us, our family.
Every time we visit a new or interesting place, we try to pick up a souvenir ornament in the gift shop. It is a great way to remember some of our adventures. Some years, the kids have made beautiful keepsake ornaments at school. I also like to make a few at home. The salt dough handprints are my absolute favourite. I try to do them every couple of years as the kids grow.
We wanted to share a few of our favourite DIY Keepsake Ornament and holiday craft ideas.
Please share your favourites in the comments below.
You will need:
- Aluminum cookie cutters
- Patterned paper
- Color-photocopy pictures
- Card stock
- Pencil
- Scissors
- White craft glue
- Needle
- Ribbon
- Beads
STEP 1
Choose patterned papers or color-photocopy pictures onto card stock. Trace cutter on top; cut out. Dab white craft glue along cutter's edge. Press paper in place; let dry.
STEP 2
Thread narrow ribbon through needle; poke between paper and cutter, and wrap ribbon around top of cutter. Slip a bead over ribbon's ends; knot.
Button Ornaments
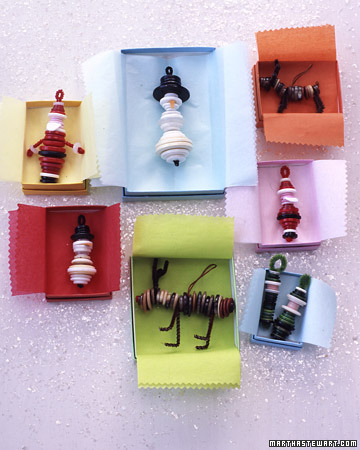
- Pipe cleaners
- Buttons
- Felt
- Craft glue
- Thread
STEP 1
Bend a pipe cleaner in half and twist once at the top for a loop.
STEP 2
Slide buttons over pipe cleaner ends, slipping one end into each hole (if the button has four holes, use two diagonal ones). Use larger buttons for bellies and hat brims.
STEP 3
When finished, twist ends of pipe cleaner to secure, and trim.
STEP 4
For reindeer legs and antlers and for Santa's arms, bend 2-inch pieces of pipe cleaner in half, slip on between buttons, and twist.
STEP 5
Glue on felt for Santa's beard and the snowman's nose.
STEP 6
To hang the reindeer, loop a thread around its middle and tie.
Pipe Cleaner Snowflakes

These directions yield a snowflake that is 6 inches in diameter, with three arms attached to each spoke. To create larger or smaller snowflakes, simply adjust the proportions of the pipe-cleaner pieces accordingly. You can also use more or fewer arms on each spoke.
- Wire cutter or pair of old scissors
- Three 6-inch pieces of pipe cleaner, plus six 2 1/2-inch pieces, six 2-inch
- Needlenose pliers
STEP 1
Using a wire cutter or old scissors, cut three 6-inch pieces of pipe cleaner. Then cut six 2 1/2-inch pieces, six 2-inch pieces, and six 1 1/2-inch pieces.
STEP 2
Twist 6-inch pieces together at their midpoints to make a six-spoked asterisk. Tighten twist by clamping down with needlenose pliers.
STEP 3
Center one 2 1/2-inch piece at the midpoint of a spoke, and twist onto spoke. Tighten twist with needlenose pliers. Repeat on remaining 5 spokes.
STEP 4
About 1/2 inch from an arm attached in step 3 (toward spoke's tip), center one 2-inch piece, and twist onto spoke. Tighten twist with needlenose pliers. Repeat on remaining 5 spokes.
STEP 5
About 1/2 inch from an arm attached in step 4 (toward spoke's tip), center one 1 1/2-inch piece, and twist onto spoke. Tighten twist with needlenose pliers. Repeat on remaining 5 spokes. Trim arms if needed.
STEP 6
To hang, glue a loop of cord to the back of a spoke.
Festive Cookie Totes
Pringles Can Cookie Totes
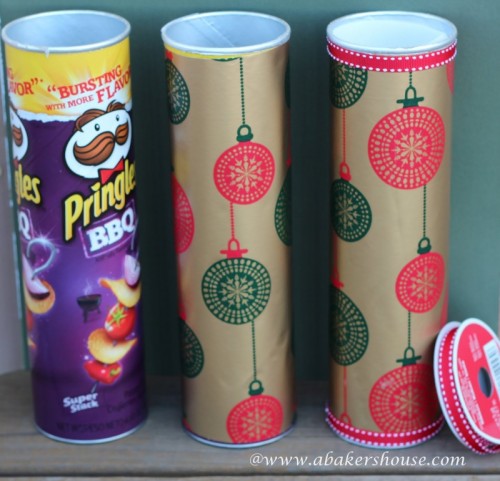 You will need:
- Pringles Can
- Wrapping Paper
- Wax Paper
- Parchment of Freezer Paper
- Ribbon
- Blue
- Muffin Liners
Cut the wrapping paper to fit around the can and glue it in place. Cut the ribbon and wrap it around the top and bottom of the tube. You may want to use a little glue here too. Cut the wax paper a similar size and roll it so that it fits inside of the can. Put your cookies into the muffin cups and then slide them into the tube.
Foil Box Cookie Totes
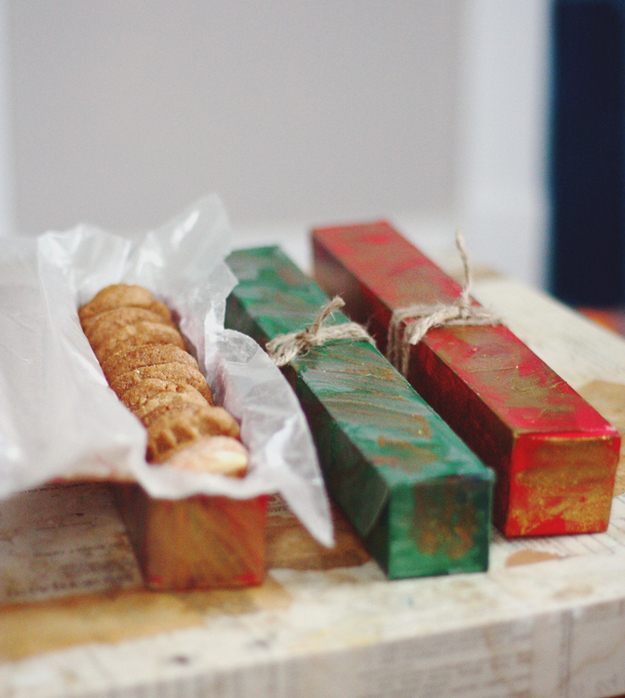
- Empty Aluminum Foil, Wax Paper, Plastic or Parchment Boxes
- Wrapping Paper
- Tissue Paper
- Buttons
- Hole Punch
- Ribbon or Twine
Start by cutting off the sharp edges from the boxes. Wrap all the way around with decorative paper and line the inside with tissue. Fill cookies. Glue button to the top lid and Punch a hole in the bottom lid. Tie to button to close box.
This year wer are making time capsule ornaments for 2020!
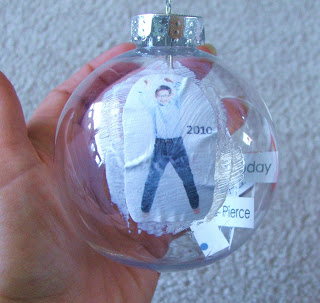 Time Capsule Ornament
You will need:
A clear plastic ornament (available at craft stores)
You child’s photo of the year
Paper
Small piece of ribbon
Modge Podge
Sponge Brush
I started by helping the kids to write out their memories and milestones from this year – what grade they are in, their teacher’s name, their best friend, favourite book and tv show, trips we took and what they did for their birthday are all good things to record. You could also print these out on the computer.
I gently took the top off the ornament by squeezing the metal prongs. Then I cut the lines of printed memories into strips and slipped them into the ornament and replaced the top.
MITK Tip: Buy more than one ornament. You never know!
I cut the phto into a circle and painted modge podge on the back to stick it to the ornament. Then I brushed another layer of modge podge on the edges of the picture and smoothed it out with my fingers. Once the edges dried, I brushed another coat of modge over the entire photo.
I topped it off with a pretty ribbon hanger.
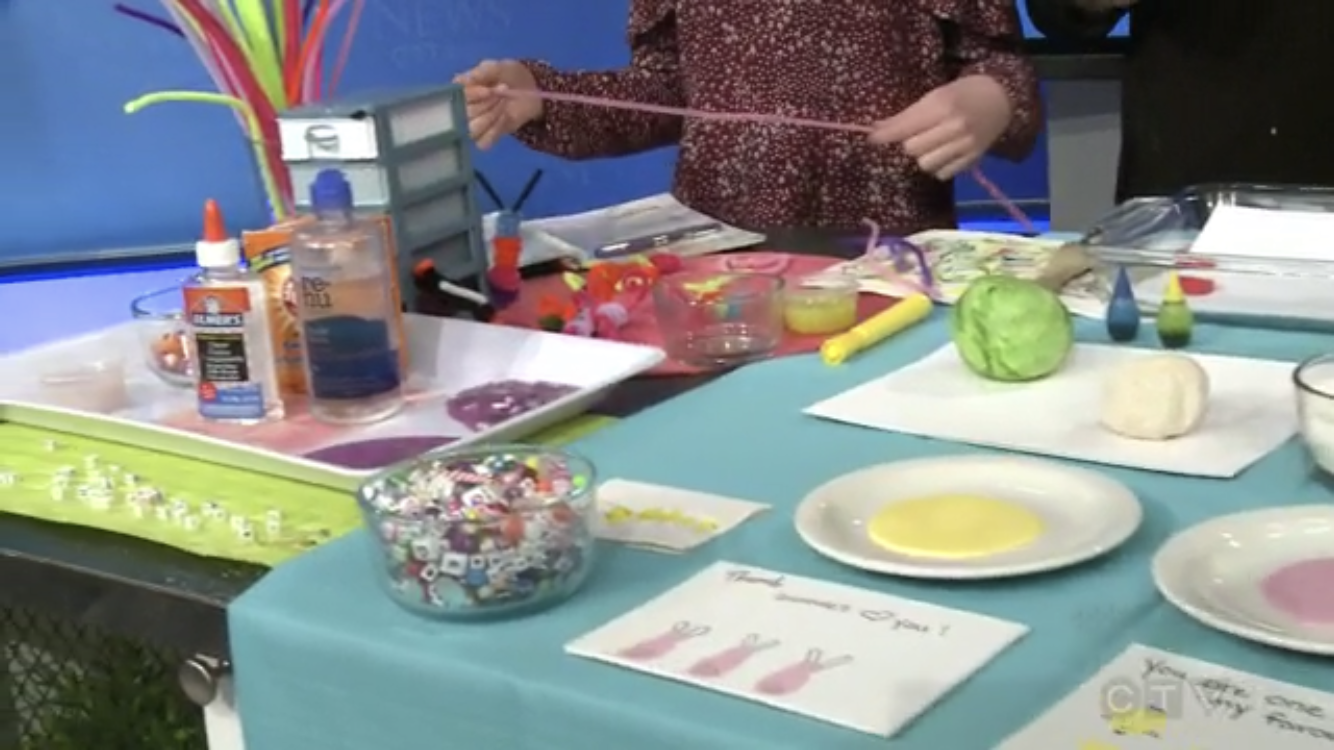
Salt Doug Hand Ornament
This is what you need: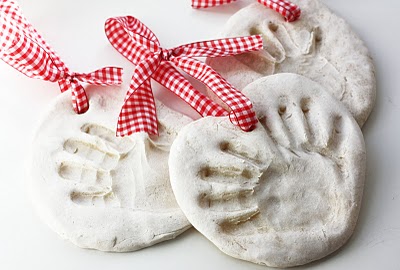
4 cups of flour
1 cup salt
Food coloring
Large Mixing Bowl
Water to moisten
Cookie sheet
A little oil
Small rolling pin
A drinking straw
Ribbon
A plate for a guide
Paint to decorate
This recipe will make three ornaments.
In your mixing bowl ~ gradually blend in your flour & salt with water to make the dough.
MITK tip *Remember to add gradually, because you can always add more water but it is hard to take it away.
Divide dough mixture into three parts, lightly oil the cookie sheet, form and roll out dough. Be sure to make the dough thick enough to form the handprint.
Use the drinking straw to put a hole in the top for the ribbon.
The best part is letting the kids press their hands into the dough to make their prints.
Place in a 150* degree oven for an hour. Or you can air dry overnight for 24 hours.
Once dry, paint or decorate as you like.
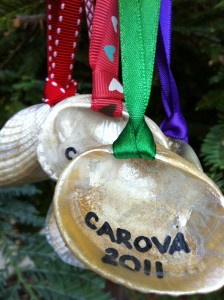 Shell Keepsake Ornaments
This is a simple way to keep memories of your family vacations.
While away on vacation last year, we collected shells on the beach. I tried to find ones with holes in the top to make it easy to hang them on the tree. When we returned from our trip, I tucked the shells into the Christmas box.
What you need:
Shells
Ribbon
Sharpie
Sparkly paints
All you need to do to make this holiday ornament is to write the name of the place where you collected the shells and the year. With writing on the shell, I gave the kids some sparkly paint and had them decorate as they liked. Last, I tied a pretty ribbon to the top to ready them for the tree.
I hope that you and your family will enjoy creating these ornaments for your tree and that you will continue to add stories as the years go buy.


 Mom in the Know